Science Engineering Challenge

Innovation & Enterprise, Projects, Uncategorised

We have to build an earthquake-proof spaghetti building with a base of 30x30cm base and a minimum height of 60cm. both the spaghetti and the blue-tack will cost money to use to simulate real-world situations. I am hoping to create a spaghetti building that can withstand being shaken on a shake table for 10 seconds. I hope to achieve this by allowing the tower to move as I have seen jointed towers in real-life examples and I hope to recreate this in my model allowing the tower to move and flex on a stable base. I hope to recreate this by using the flexibility of spaghetti to my advantage by creating a strong stable base then connecting the tower using single strands of spaghetti allowing the tower to wobble and flex. I believe the importance of creating an earthquake-proof spaghetti building is that it shows we can potentially save lives through reduce the risk of earthquakes collapsing buildings and potentially killing people.

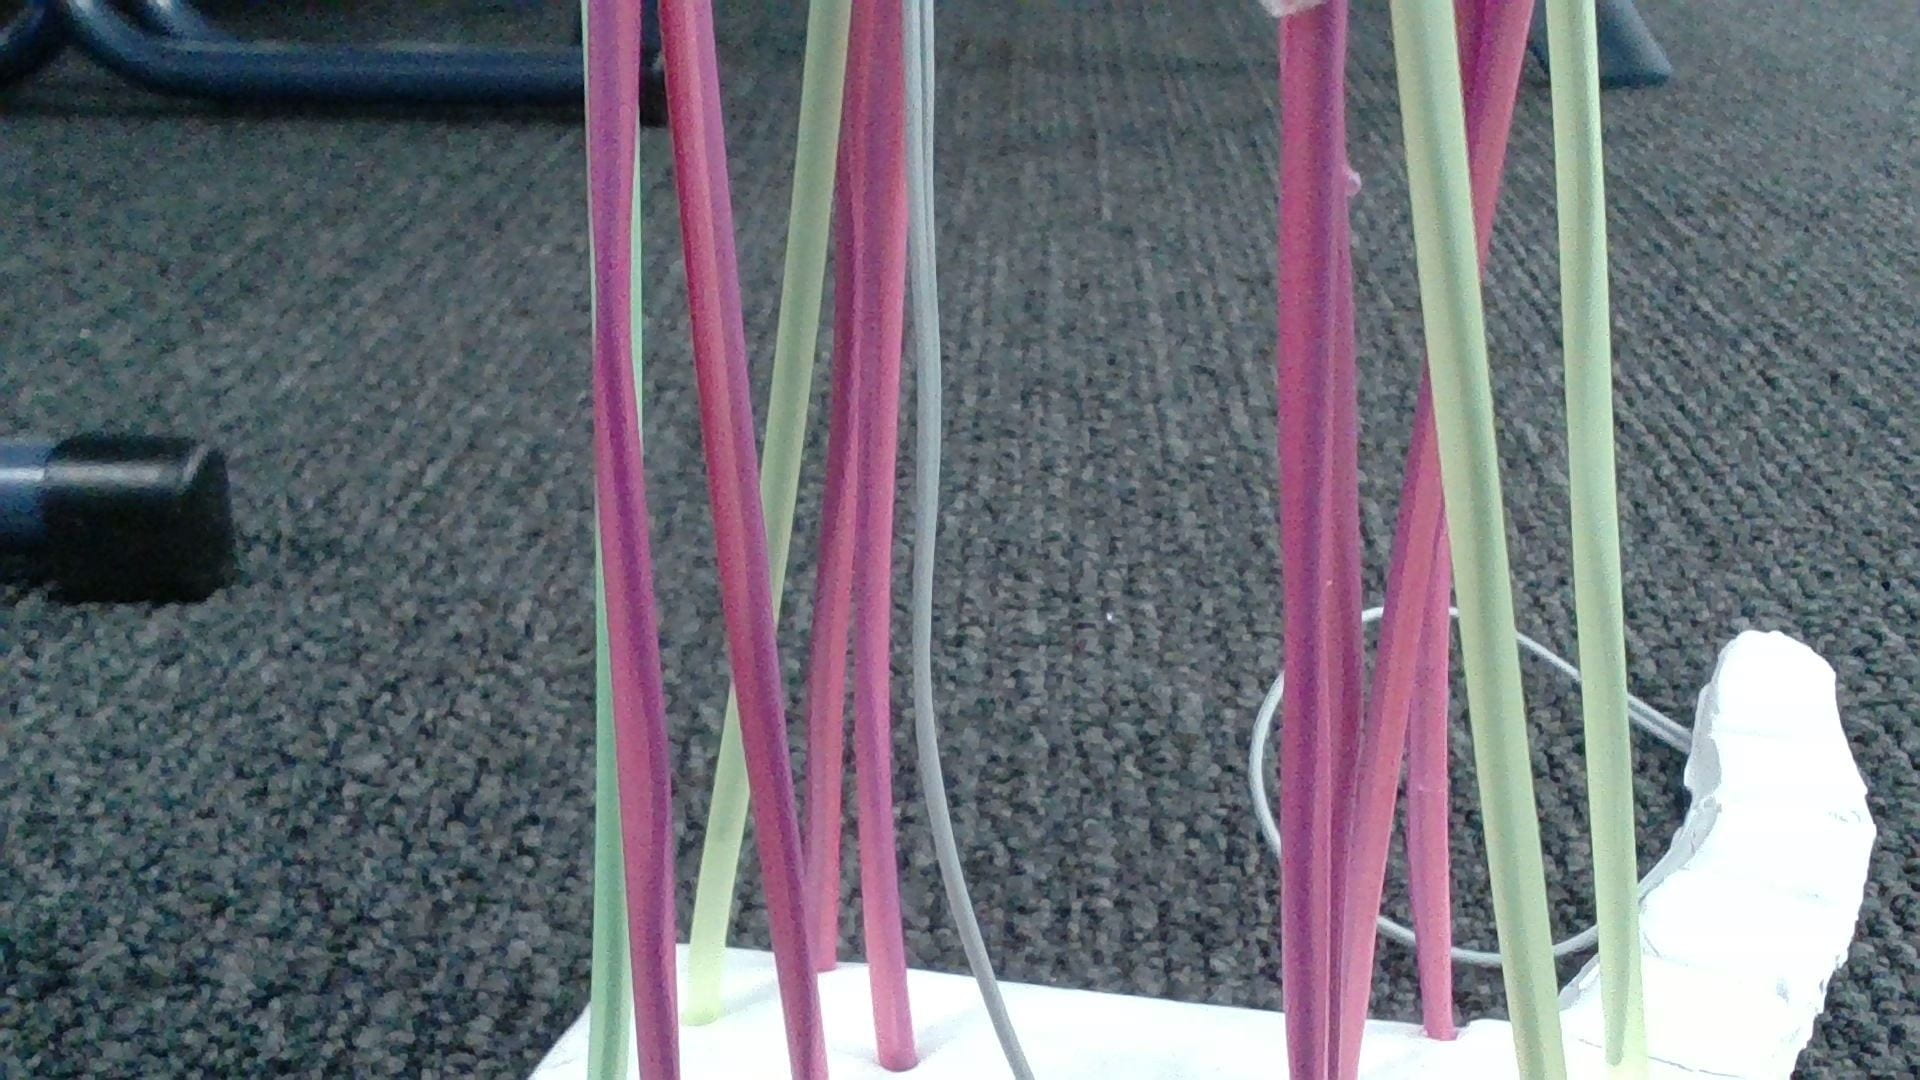
This is our second spaghetti tower note the large glob of spaghetti in front of the furthest leg is the pendulum.

The engineering process we took for our first prototype was defining, researching, designing then building. We had many hiccups during this process as we had a group change at the start of the engineering challenge which reduced the time we had to work on our design and prototype. Many of our original designs were quite contradictory and therefore we had many disagreeing conflicts however we eventually settled on a rather complicated but in theory effective design. The design we settled on was based on the jointed earthquake-proof buildings that we largely researched and found the most effective. We then built our tower and gave it a small test, it worked but not very well. We then had to test our building on the shake table and it collapsed largely due to a snapped spaghetti piece and an off-centre tower as the tower was balanced on the base. The outcomes of this tower design led us to design a more simplified tower with triangles, as they are the strongest shape and a pendulum to absorb the motion and increase the effectiveness of the triangular design. Our second earthquake-proof building survived a scale 7.3 magnitude earthquake and I believe this is a good outcome for our spaghetti building and design process. I believe that if we had worked more as a team better during the design process we could have created an even better design more based on the motion absorption of the pendulum. I also think that if we had combined our ideas instead of choosing one we would have better solved the conflicts and made a better tower. I would have also changed the way we collaborated as a few people did more work than others and if we all worked together we would have created a better tower.

This is our tower on the shake table, the pendulum has design flaws that could be solved with further designing however it helps absorb the motion which helps reduce the stress on the tower

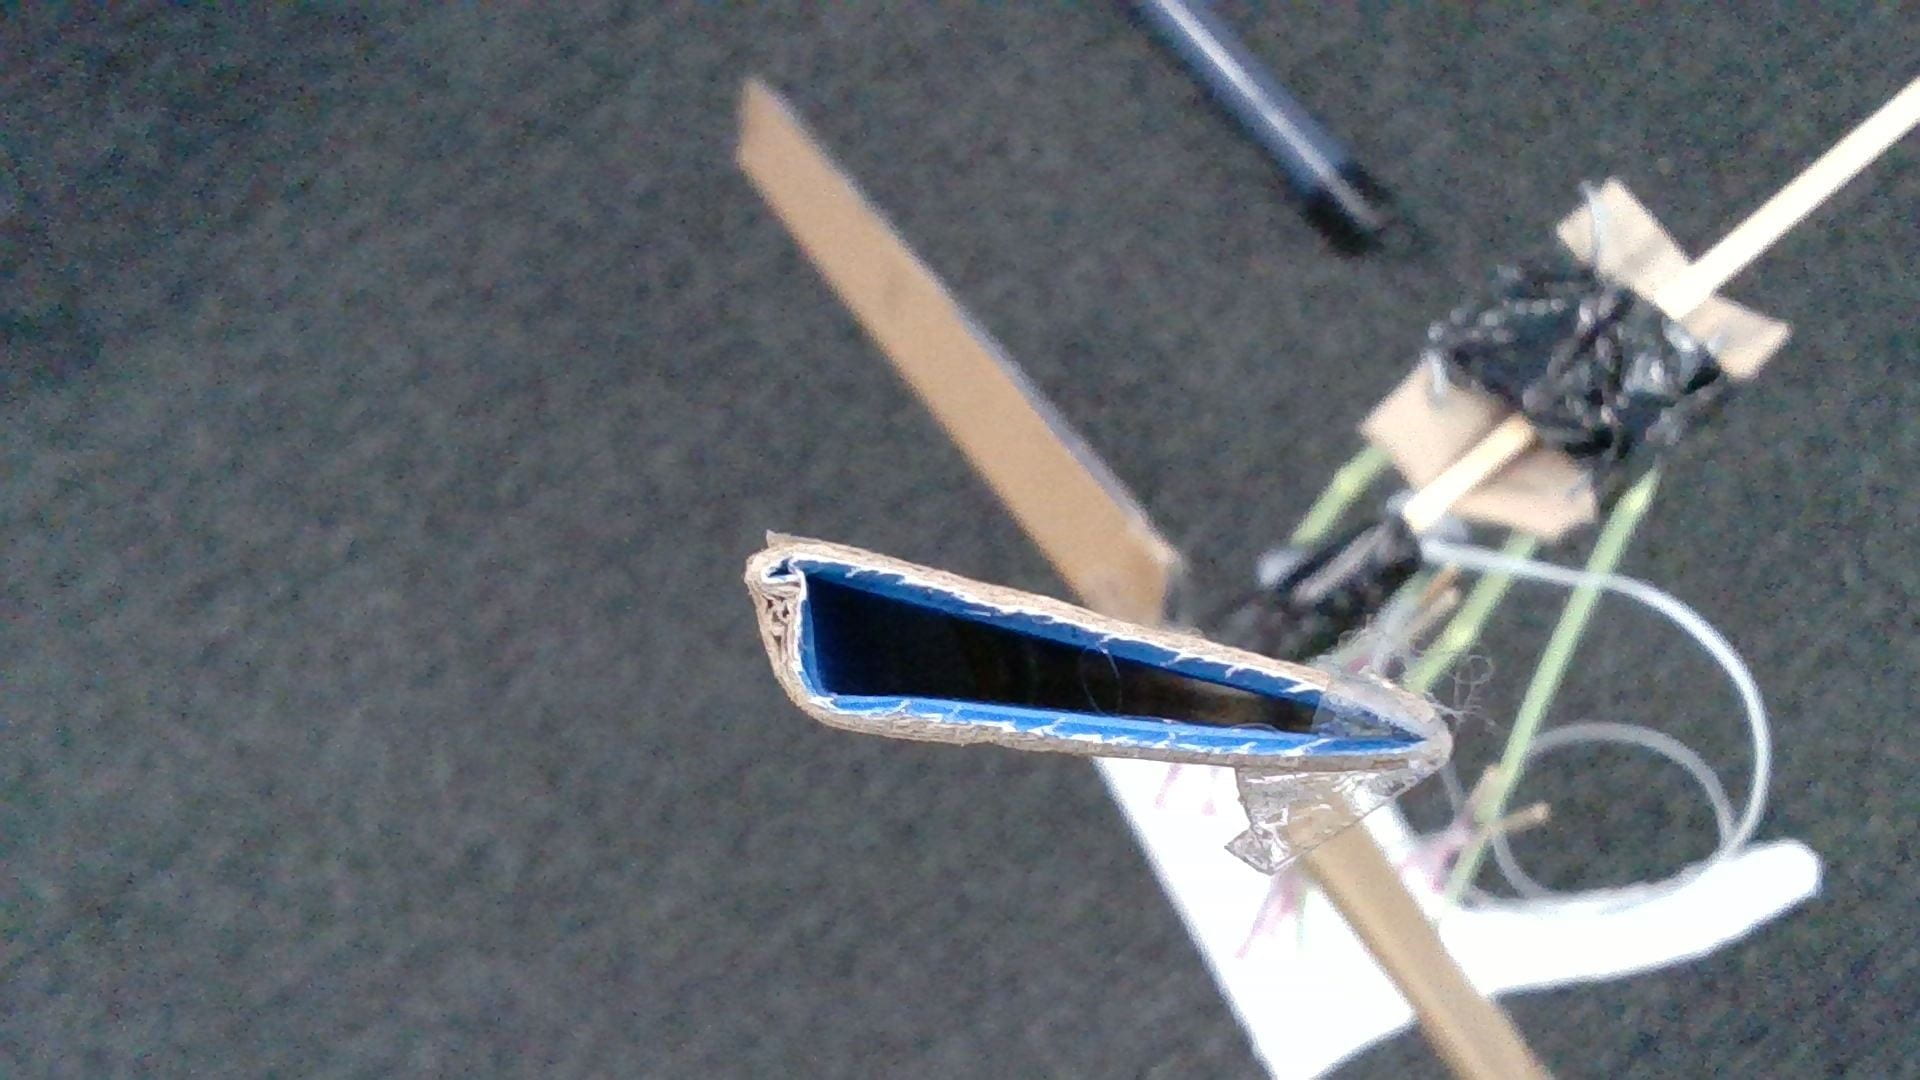
The pendulum is clearly visible here along with the tower triangular base and its construction method. Note: the pasta on the side of the pendulum is a late improvement to stop it from sticking to the legs.

I was the major design and builder using my math skills and engineering skills to help majorly design both towers. I had a bit of help during the design process from our team members however I was the major contributor towards the end designs. I was also the major builder as I best knew the designs. Most of our group was involved somewhat during the building process and designing process however some people were lacking with their input into our project. I contributed the most I could to my group however by doing this I believe that some others felt there were not needed and therefore kept their input to a minimum. I could have better helped my group by using teamwork skills to help encourage those who otherwise would not have done alot.

This is our first tower, the triangular design was to help stop the tower from twisting. Note: the base wasn’t secured to the tower deliberately allowing the tower to move and, in theory, absorb motion and therefore be effective.

I believe we achieved what we had set out to and I had lots of fun during the process. Our first tower, based on real-life designs had failed miserably and our group did not contribute as much as they could have however we came up with our second design which was simplistic and very effective. Our second tower incorporated more appropriate real-life examples in a more thought out and simplistic way and because of that, it worked more effectively. I had lots of fun completing this challenge and I believe it improved my designing, teamwork and problem-solving skills.

Egg Tempera – How to be a Renaissance Artist

Innovation & Enterprise, Projects

What is it?

Renaissance - Wikipedia

This is an example of an egg tempera painting and the renaissance period.

For our art project, we had to draw then paint a picture of still-life using egg tempera. Egg tempera is a type of paint that is commonly used by renaissance artists (further described later). This ‘draw then paint’ process was fun, but it had many different challenges that we needed to overcome. This post will further describe an in-detail description of these processes and challenges.

The Drawing Process

This is my still life drawing, I tried to make the pots the focus of the artwork

We spent many weeks practising ‘drawing with the left side of our brain’ to help us draw still life. We accomplished this by drawing silhouettes upside down. This was very challenging and involved us focusing on our drawing technique. This improved our still life drawing skills in preparation for our painting project.

We drew our still life using a contour type drawing technique (drawing which involves drawing what you see as lines(left)) of  Indian style pottery, flowers, ornaments and figurines.

I found it extremely difficult to get everything to scale and try to fit it inside the drawing. However, I managed to find a way that involved using other objects inside the drawing to help get the scale to write on the object getting drawn. For example, if the pot I had drawn is twice as big as a vase in real life then I would use this to draw the vase smaller and, therefore, into scale with the pot. Eventually making the entire drawing relatively to scale around one object.

This is my prototype colour composition for my painting

I tried to make the pots the focus of the artwork and I believe that my artwork succeeds in this. I made this my goal because I believe the three pots next to each other looked quite nice and It adds attention to the pots and therefore more interest goes into my painting from the viewers. It sort of uses the rule of thirds placing certain areas of the pots on each joint of the rule of thirds. In my colour composition, This is furthermore exaggerated.


Egg Tempera

Pigments through the Ages - Egg tempera

This is an example of the pigments we were using

After we completed our still life drawings we had to make and paint with egg tempera. This form of paint is created by using one egg yolk, 1.5 teaspoons of pigment, and 1 teaspoon of water. It uses the emulsion of egg yolk as a binder of liquid and dry pigments to create colour layers.

The steps of making egg tempera:

  • Brake an egg
  • Separate the egg yolk from the majority of the egg white
  • Place the egg yolk on a folded paper towel.
  • Role the egg yolk to a corner of the paper towel, this should remove any extra egg white
  • Poke the skin of the egg yolk and drain out the yolk into a small bowl
  • Add 1 teaspoon of water and 1.5 teaspoons (you can add as much as you like) of pigment
  • Mix the egg tempera until all ingredients are thoroughly mixed
  • The egg tempera is now ready, You can store it in a fridge until it becomes dark browny and smells ripe.

Egg tempera was used in the Renacaisence period by most artist, the most notable Leonardo de Vinci, Michelangelo and Raphael.

So far I have made 17 egg tempera paints each different colours. I have made so many because the fridge turned off after I made my first batch forcing me to create another. Making egg tempera is quite fun however it does take time and practice. The hardest part we found of making egg tempera was cracking the egg and separating the egg yolk from the egg white.

The Painting Process

We had to prepare our painting boards by sanding them smooth with fine-grit sandpaper. Then we had to print a copy of our line drawing onto clear paper. We then used a projector to draw the design onto our board. After that, we had to mix our pre-prepared egg tempera.

This is my egg tempera painting so far. As seen in the blue pot the egg tempera is a bit unreliable.

We then started to paint our artworks based on our colour composition. Mine is going quite well and I have learnt that you can use the brushes ability to absorb paints to help make the layers more even. I have also found that the egg tempera paint is much like oil paints however it dries much quicker.

Throughout this project, I have learnt and extended my knowledge of problem-solving as the paints and the painting didn’t always go to play. (The purple paints started turning grey and the yellow paint went off).

Thanks for reading

Thank you for reading, I hope you found this very egg-citing. But I really should stop cracking egg jokes!

have you tried making egg tempera or have any comments? Please leave in the comment section below.

Christmas Market reflection

Innovation & Enterprise

In the Christmas market we sold recipe calendar’s. We targeted them at people how liked cooking but instead we attracted impulsive buyers and teachers. We made a profit of 42ish dollars. We ended up selling approximately 17 calendars. We sold the calendars for 5 dollars but changed it eventually to 3 dollars. we were positioned at the back of the common so not a lot of people came to us. We didn’t bring a money box so we had to make our own out of envelopes. Our stall wasn’t very interesting to look at so we might have lost some potential buyers. We had no competition (other people selling recipe calendars) So we sold one calendar every person who was interested.

Nutmeg

General, Innovation & Enterprise

A few weeks ago on the school holidays we got a Welsh plush coat (furry) Pembroke (short snout) Corgi. for those of you who happen to not know the cutest dog in the universe, there are pictures below and to the right. Nutmeg is her name and she eats and chews almost everything. She is very cute, mischievous, nippy and naughty. Her fluffy coat is a result of a common genetic mutation that makes the fur grow longer. Nutmeg is very skinny under her coat and can run at speeds that people win 100m races with. She is the very playful and will become so fluffy you could make another corgi with her fluff. she likes socks and therefore we think she has no sense of smell. Nutmeg is the cutest dog you will see.                                                                          

Flute

Innovation & Enterprise, Music, Projects

I play a musical instrument called the flute. this instrument (shown below) belongs to the wood wind family. I have just past Grade 1 and I am now entering Grade 2 (certificate shown below). I play and complete my exams at AMEB (Australian Music Examination Board). I past with a B+ and I have started to do some grade two pieces. The flute is a mildly tricky instrument as you have to control you breath and hold the right keys. you blow on the mouth piece (show at the bottom) and you connect that with the body which is connected with the foot. This instrument sounds beautiful when played properly.

I have created my unfinished product that I have learned lots from. I have attempted to merge a wind turbine into a windmill structure. the base is made from clay. The supports are made from straws that are reinforced with steel wire and in some places skewers. the blades are made from cardboard that is connected to a central hub by skewers. in the second image you can see I have tried to incorporate into my design. the central hub is connected to the drive shaft which is connected to a electric motor which will generate electricity when turned. this was a complete failure as the turbine was to heavy for the loose connection of the drive shaft. this means that the bottom blades hit the base structure if they are two close to it. the turbine itself is two heavy and the wind cannot turn it. this is not one of my best models and as Edison said while inventing the light bulb “I have not failedI’ve just found 10,000 ways that won’t work.” I have never done this much versions of this model but like Edison I have not failed I’ve found one way that doesn’t work. I took away many experiments and successes from this model that I might use on my other models.

Innovated term 3/4

Innovation & Enterprise, Projects

InnovatED

Innovation & Enterprise, Projects

In InnovatED for 2019, term 3, I have chosen to do the emissions goal. I am going to create a vertical wind turbine with a clay base a steel wire reinforce straw supports. I am using a DC motor which is geared to a large cardboard fan (maybe a different material later) which will hopefully generate enough electricity to power a LED in a small cardboard house. the finished product is hopefully no bigger than 1 meter tall and 1 meter wide. The structure will probably survive high winds.


I had created the frame work and it turns out that the wire was more flimsy then I thought. I might add more wire to strengthen the structure but the main thing that will be damaged is the wind turbine on the top. I might also strengthen the structure with a cardboard tube. I will create the wind turbine blades with thin but strong cardboard and gear it to the motor which has a wire running down it to the clay base I have prepared. The turbine in theory on a windy day might generate enough electricity to power a LED. I used creativity to create the structure and attempt to strengthen it. I used problem solving to also try to strengthen it.