Brutalist architecture -ProjectX-
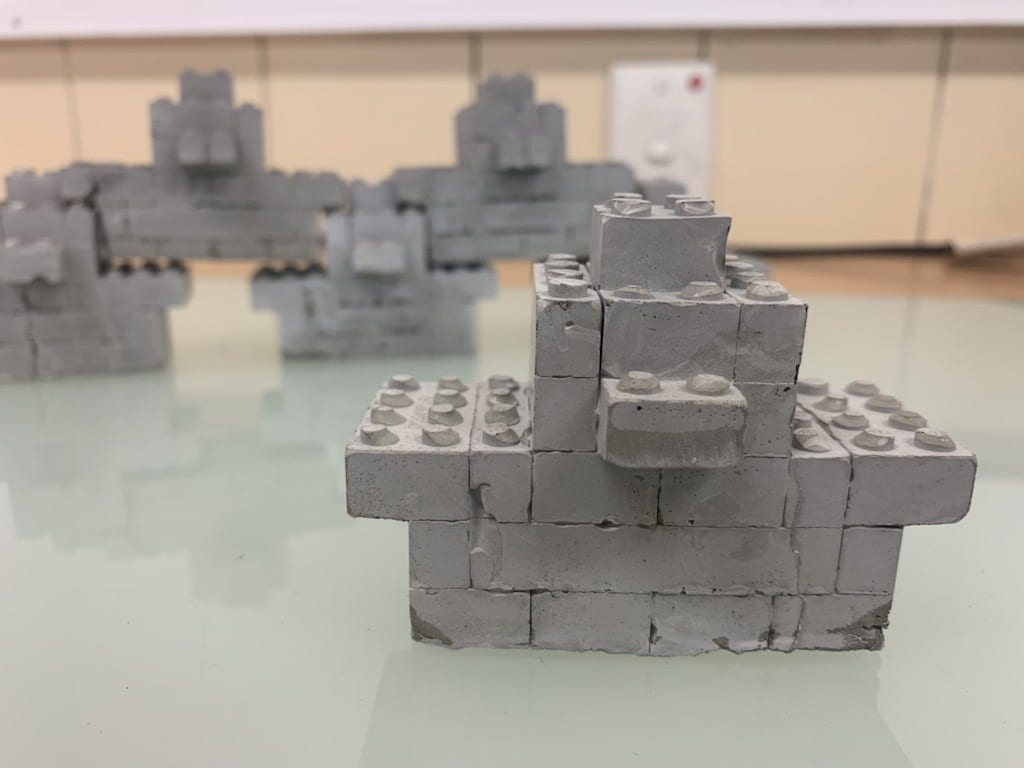
During this project, we had to create a mould out of pinkysil. the mould was made to the shape of our lego sculptures. We then sliced the sides of the mould. We created a mixture of grey cement as we found it was the strongest once set and was also the easiest to get out of the moulds without any breakage. The good thing about pinkysil is it can have multiple. This means that Miss Elscot instructed us to create multiple sculptures with the same mould. But I am missing a whole half of this project we started off by researching brutal buildings then we continued to work with lego and find a shape we liked. the next step was to create a mould for the pinkysil mould the way we did this was using coarfloot this was measured to the lego and 0.5cm was allowed on either side of the sculpture in between the coarfloot. We then used lots and lots of hot glue to make the mould waterproof. Then we poured water into the mould to know what the volume was once we knew the volume we halved it and used half of the white pinkysil and half of the pink pinkysil. Then we let the pinkysil dry and we then had a silicon material.
🧱🧱🧱🧱🧱🧱🧱🧱🧱🧱🧱🧱🧱🧱🧱🧱🧱🧱🧱🧱🧱🧱🧱🧱🧱🧱🧱🧱🧱
Personally, I feel that I did well in this task I was faithful in my mould working. I enjoyed this project as it was hands-on and most of the time I had cement on my hands. It was a very fun project and I could help my friends if they needed help. I also like creating the cement mixture and learning the right consistently. This project was lots of flerning and I feel that I defiantly did so. I am proud of my application to this task and my ability to achieve a good outcome.

1 2 3
4 5 6
Recent Comments