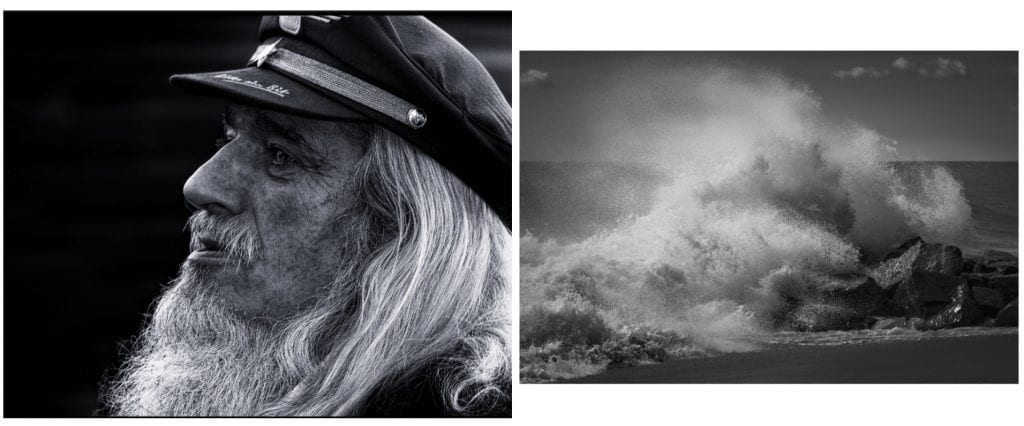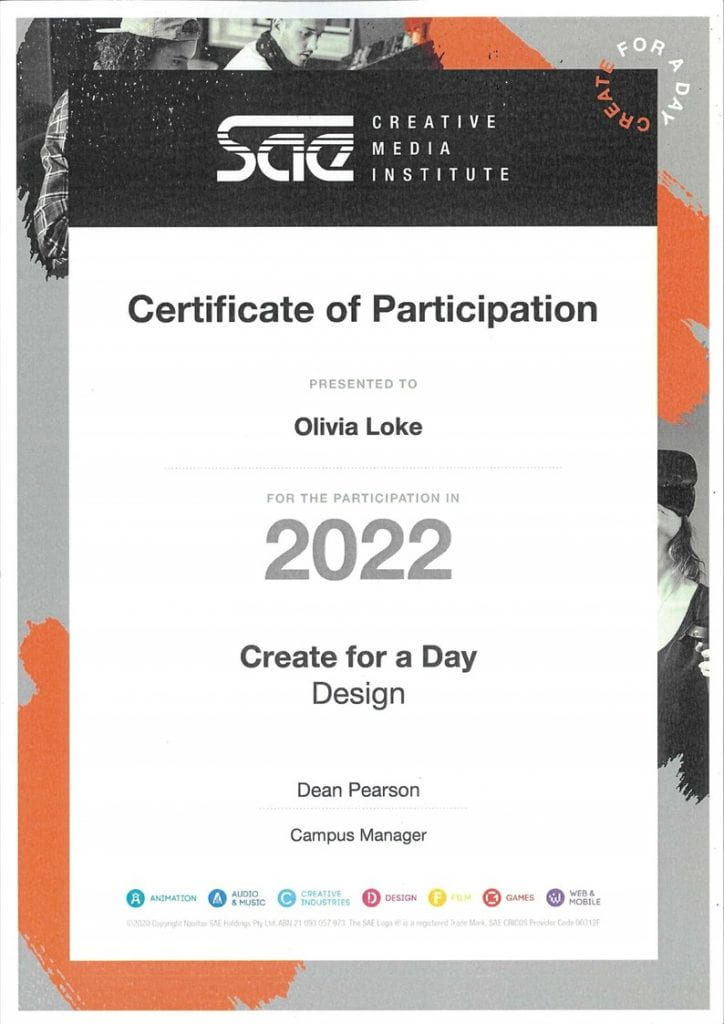
An exploration of what a photo can transform into through the main use of filters and blending options in Adobe Photoshop. The project was part of the Sae Institute’s Create for a Day design workshop where a lecturer gave insight into the design field, some technical skill tips, and ways to experiment with creativity.
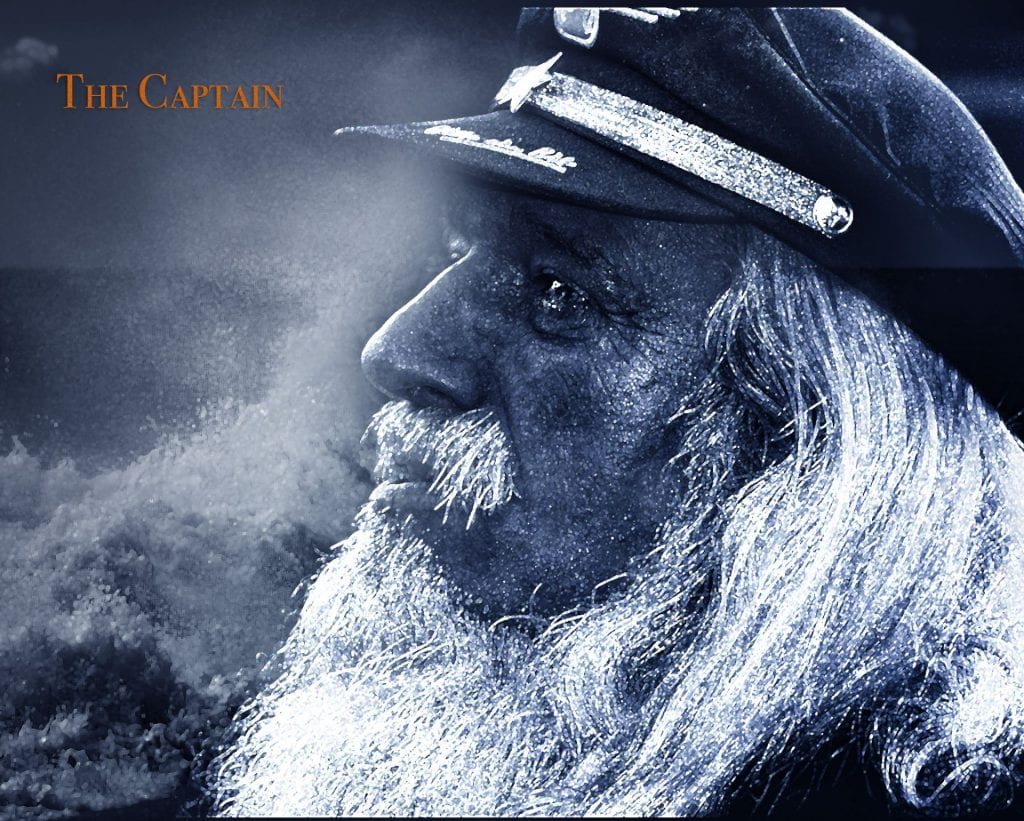
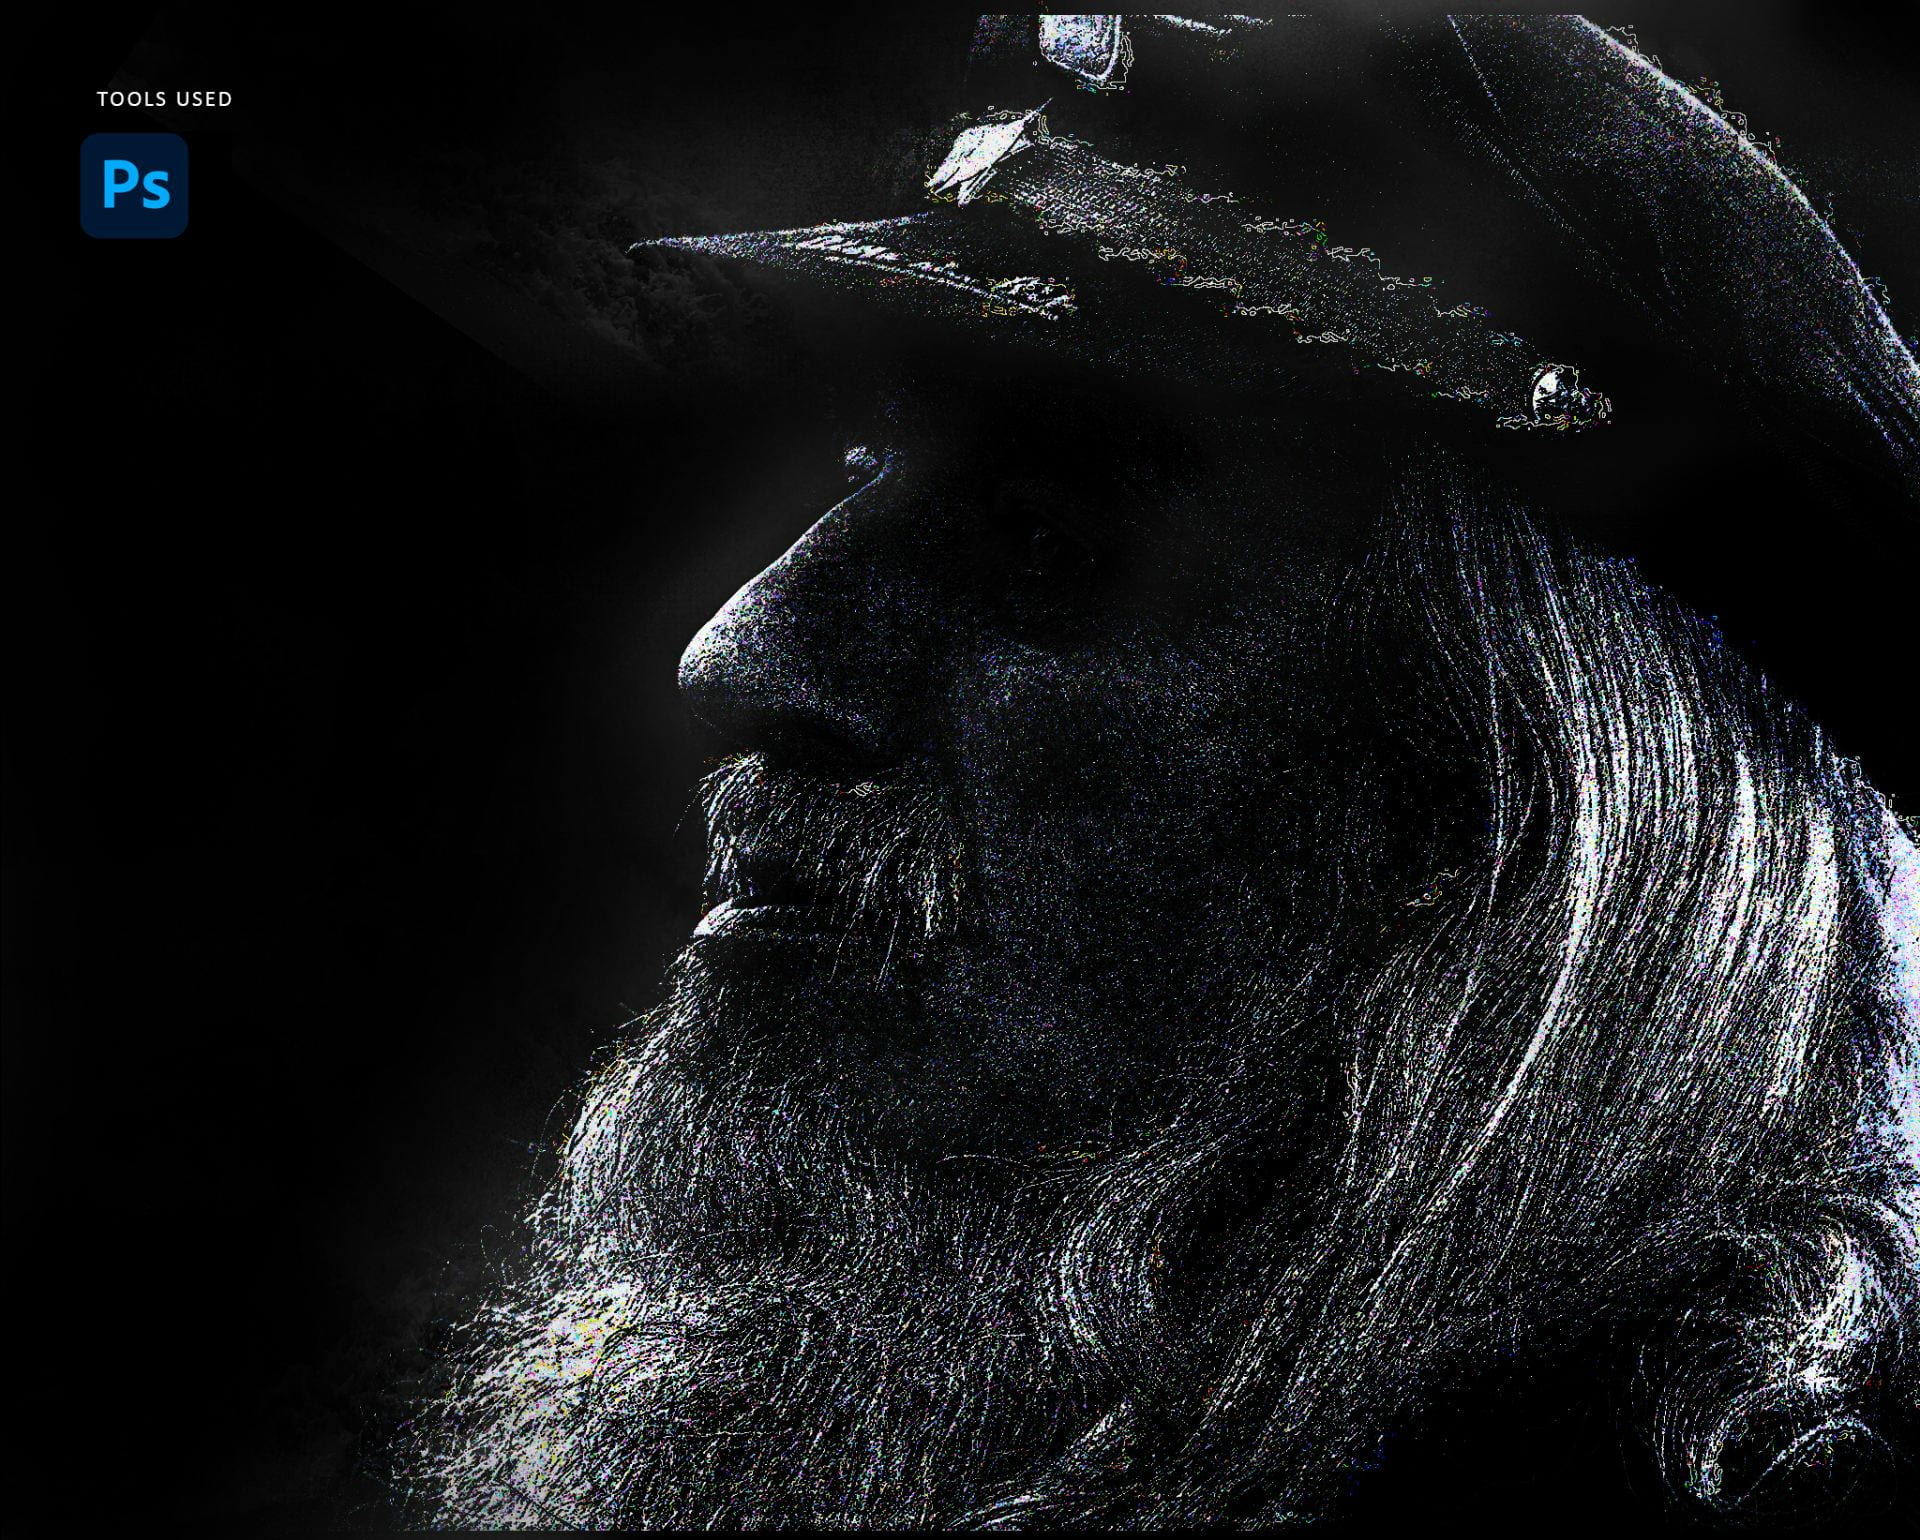
The design first aims to combine two images together using the eraser and transform tool. Filters and blending options give the sparkly silver brush over his face, overlay of frosty blue, and a bejeweled look to his eye.
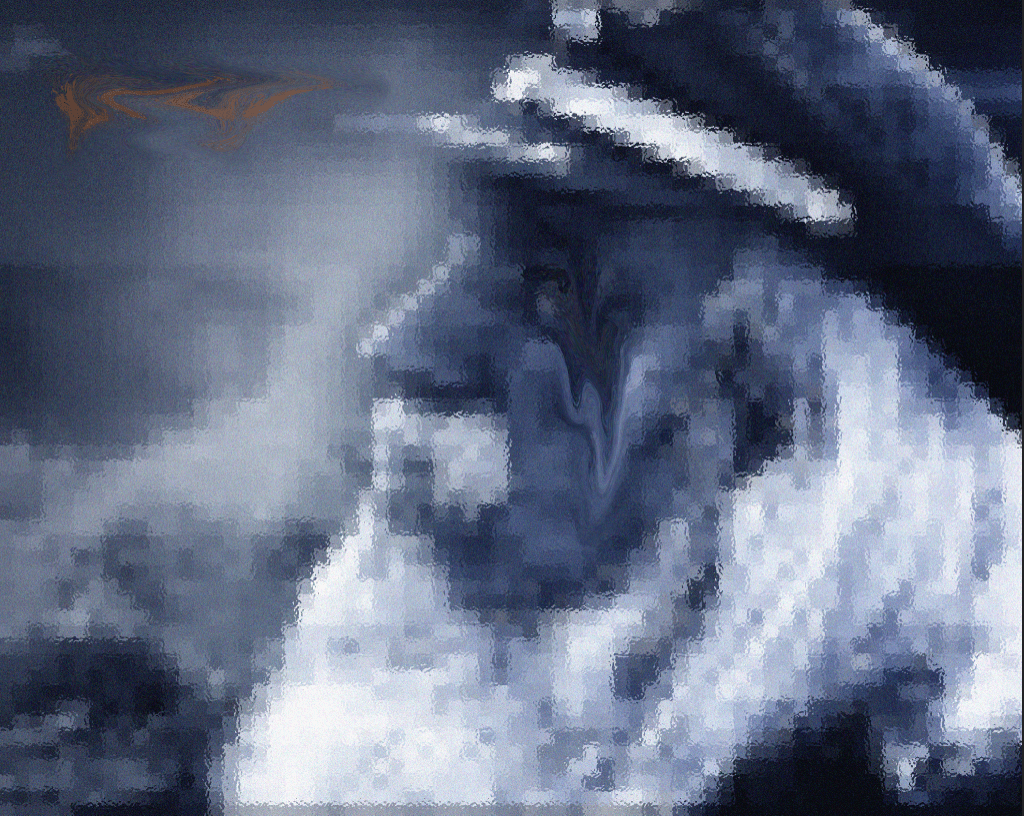
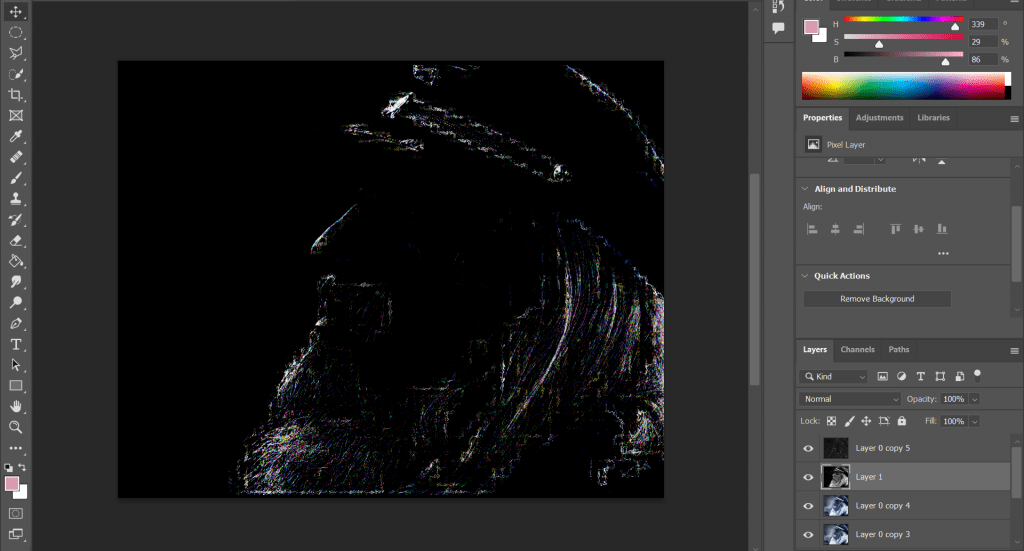
Applying the idea of concept smashing is what follows. Just filters, blending types, transparency adjustments, and layer hierarchy (which layer is on top or under another) was still used. But by freely throwing the techniques together, I was able to end up with what I didn’t expect. Following this I decided to bring some reality back with the original captain image.
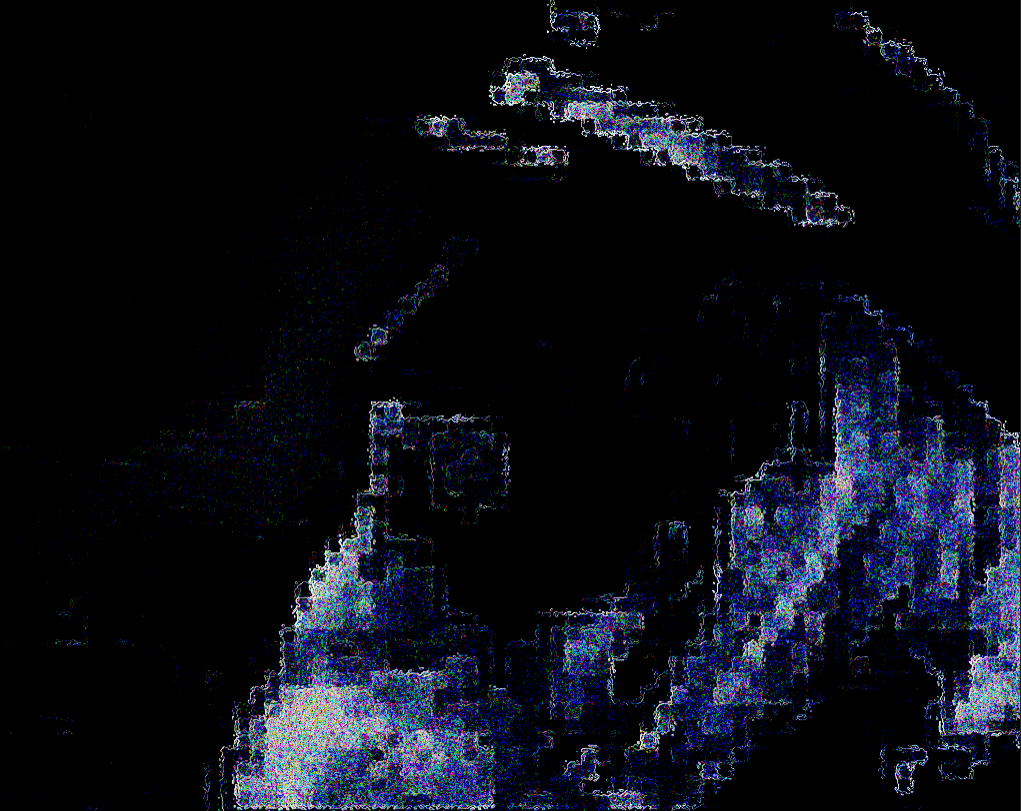
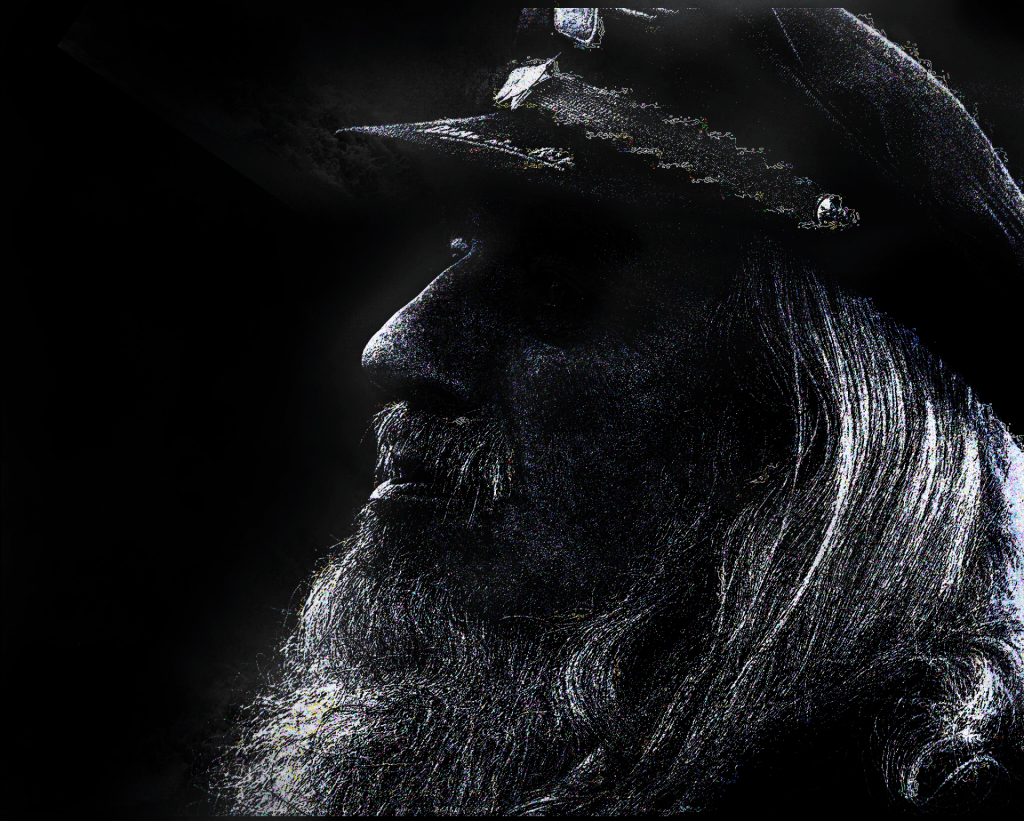
What was left was to polish it up. The dodge tool was used to crisp up the edges of the face and the ocean image from earlier was sprinkled on top to give a glow effect.
The result is with the captain appearing lost and foreign with the shell of himself. I don’t think it would be unusual to see him standing in solitude on the deck of a ship in space. I decided to rename “The Captain” to “The Lost Captain”.