travel.active for active travellers
It was easy to figure out the overview of our business, but now we needed to focus on the little details.
Some of the things we needed to decide on:
- Product measurements
- Aesthetics
- Material Sourcing
- Product Pricing
What we needed to do:
- Construct the pouch
One of the main issue for our product was how to make our product very easy to use, especially when they open their pouch to grab something. Ensuring that it was both space effective ( meaning we wouldn’t waste space ) and looked pleasing to the eye. We created a product that had perfect harmony between these to produce a pouch that consumers are willing to travel around.
Product Measurements
Carrying a phone around has become the norm in today’s society, therefore us travel.active as a business also needs to adapt with this. The bottom compartment of our product is able to house even the biggest of phones as we know phone sizes are only getting bigger and bigger. In addition to this, there is also space to store headphones or earphones in the same compartment; cutting the hassle of trying to look for them in a clustered bag.

We also then had to include a decent height to the pouch, otherwise it would be too small to fit anything.
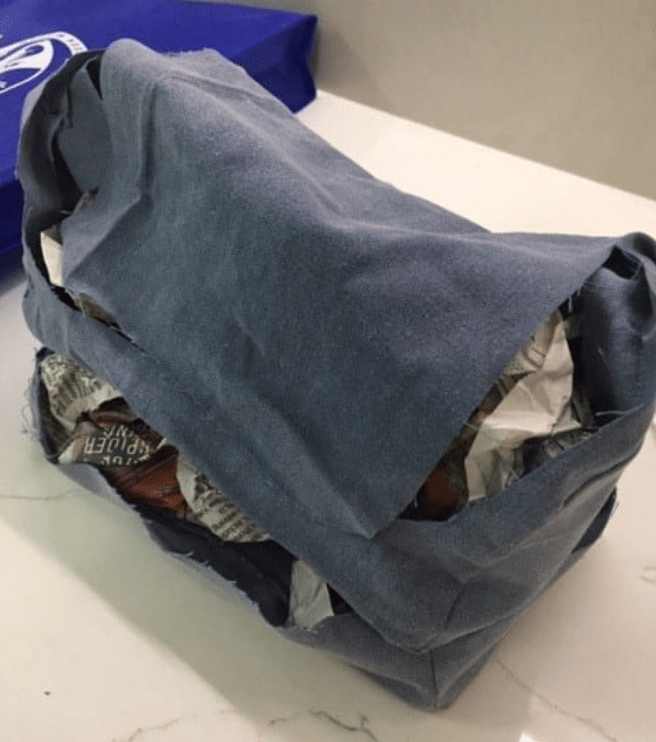
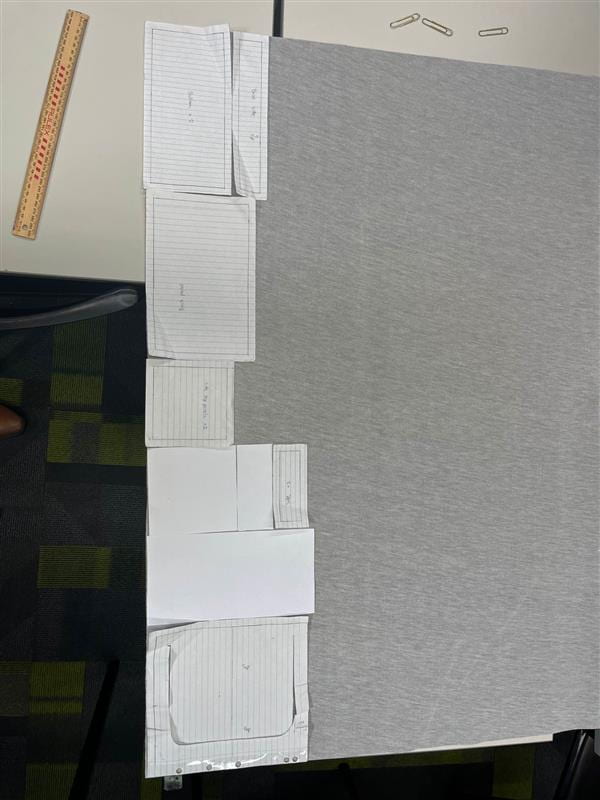
To visualise our final product we made paper drafts of it. This process helped us to change little details here and there.
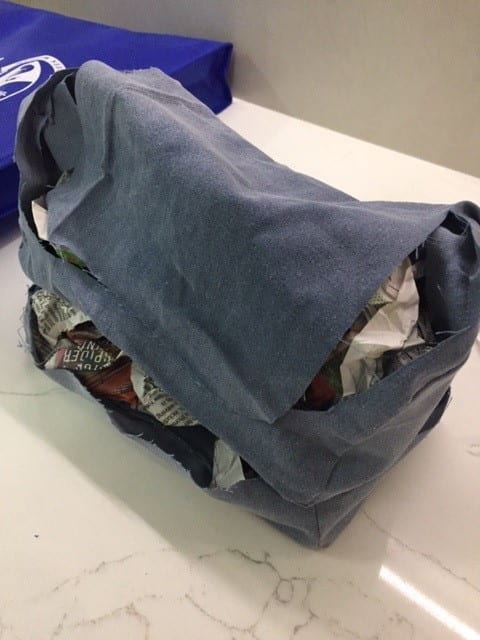

Samantha was then able to make a final one with spare fabric that she had at home.
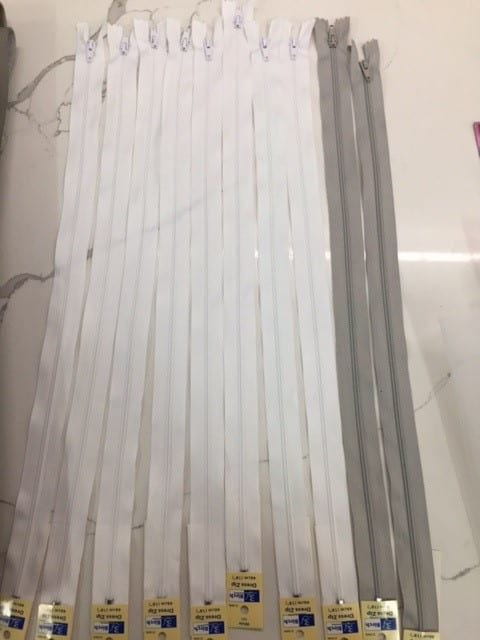
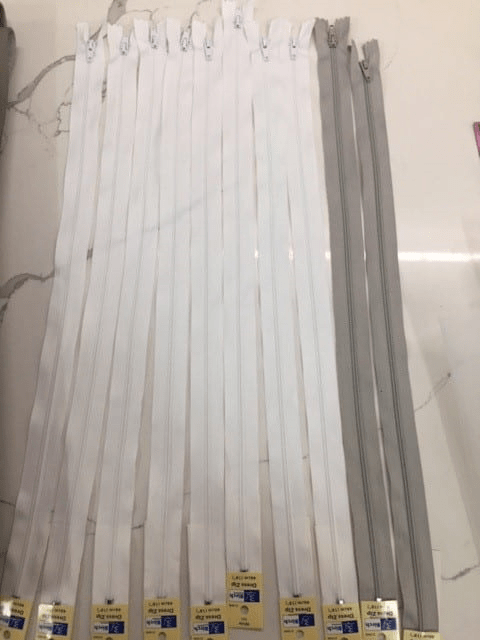
Material Sourcing
Now that we had a “product”, fabric was our next priority. Searching through the web, we suddenly remembered a classic store to buy most sowing related supplied; Spotlight. We found cheap but quality material perfect for our use. However as the saying goes “it must be too good to be true” it turned out right. When buying in store the prices were actually higher than we planned for, resulting in the price for the product per unit to increase.
Aesthetic
The pouches were aimed to execute the “clean” aesthetic as this would make our product feel high end and not a cheap one found at the store.
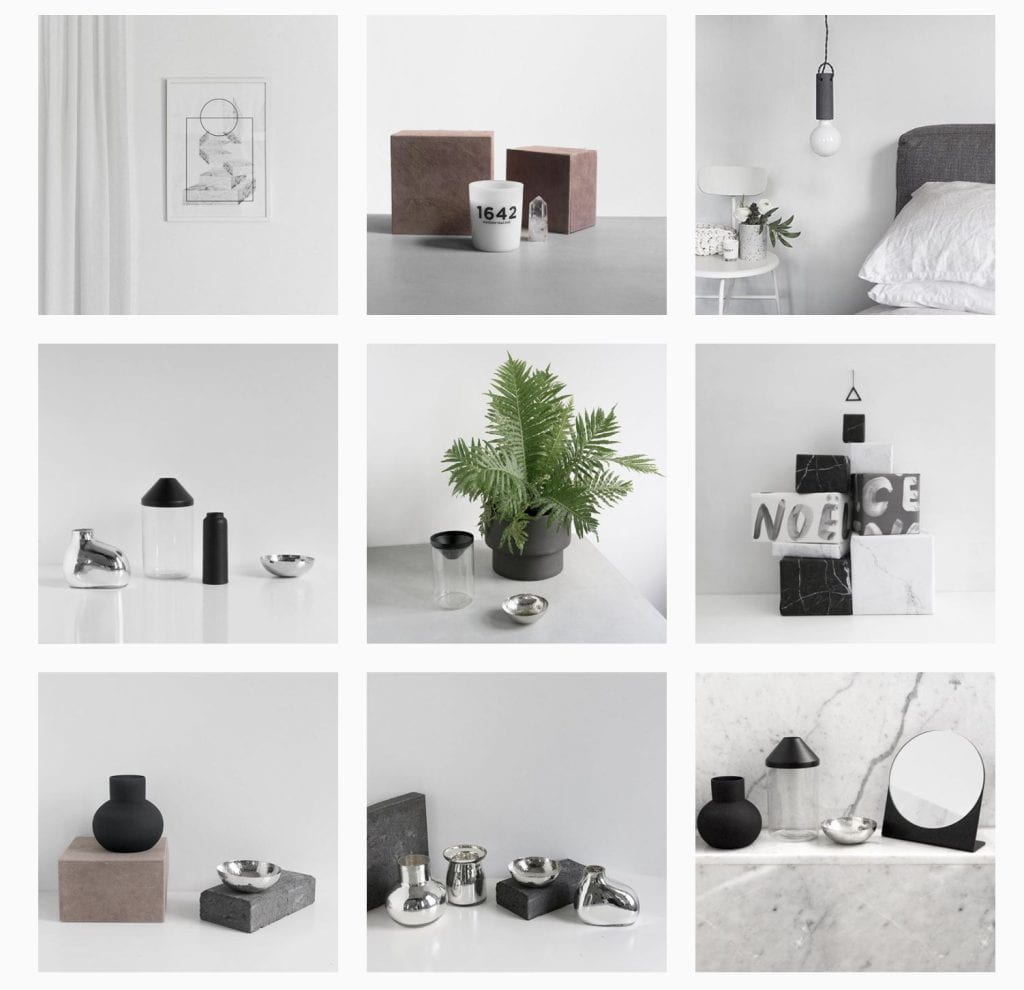
Using this theme we chose to use faux leather as it conveyed the feeling of luxury perfectly while being cost effective.
Most of the “clean” aesthetic includes products being rounded and a neutral colour to ensure it fits with almost anything. Our colour choosing was heavily influenced with this as we chose a light grey colour that can seamlessly blend in and stand out at the same time.
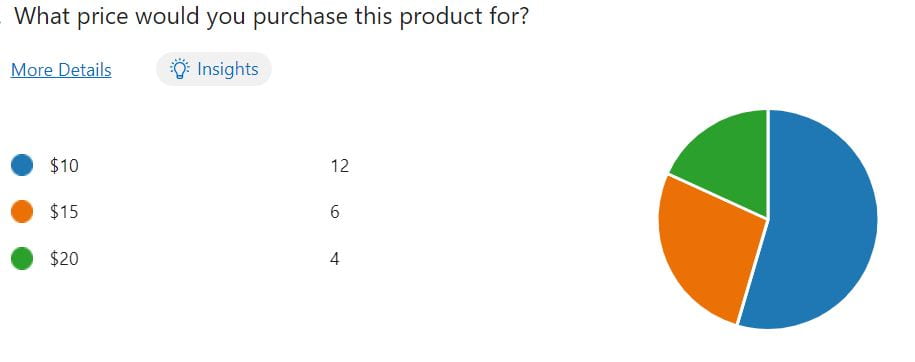
Product Pricing
Although we are still unsure about the current price, we do have a estimate as to where our pricing will fall. Considering all the data we have gathered in our validation process, our pricing range will target most people. $12-17 is what I am roughly thinking as we will cover most of those who chose $10. Since our product is quite pricey to make, we have to consider the amount of profit we are willing to maker per unit. It became quite an issue as little profit means we can have a better overall profit, but it would also be a risk as it is unsure whether as we will sell out our stock quickly or not.
Construction of the Pouch
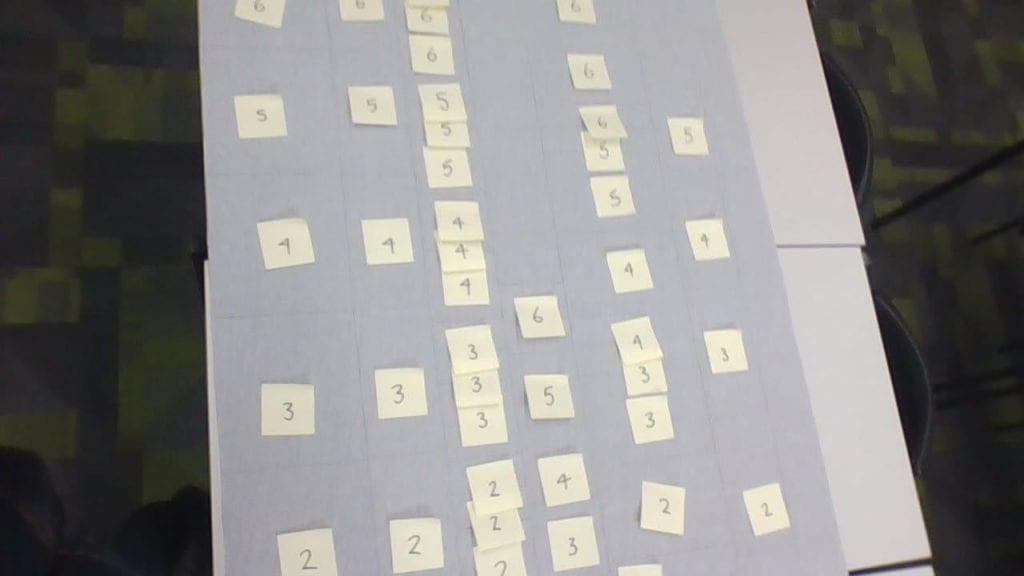
Constructing requires precision and utmost focus as even a millimetre off can result in the stencils all not fitting. Even though we had this we still encountered problems.
One of the first problems was that we forgot to include to stencils, so we had to cut them before continuing on.
The second incident was when the fabric that we had was cut weirdly by the people from Spotlight, resulting in our end stencil not fitting perfectly across. Consequently we had to rearrange our last stencil to fit, resulting in some space lost.
After outlining all the stencils painstakingly by hand, we labeled them so that we know how many pouches worth have we made.
All the 3’s represent one pouch, all the 4’s represent another and so the cycle goes on.
What’s Next For travel.active
Now that we have finished our construction outline we now need to focus on what’s next.

Some may consider this a taxing task, but on the contrary I believe it is one that I am truly passionate for. I am excited as to where travel.active will go in the future.

0 comments on “The Details” Add yours →