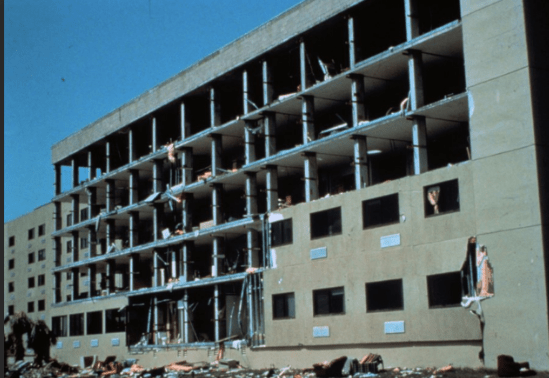
Earthquakes are series of natural occurrences that can occur across the world. They are recognised for their devastation and catastrophic damage caused on a paramount scale. Due to this, we were provided with the Year 9 Engineering Project. The project would teach us about the requirements of a building to withstand these earthquakes and reduce the damage. In groups of 2-4, we were tasked to create a building made of spaghetti and blutack, and put this to the test through home made an earthquake simulator, to see what our masterpieces’ creation can withstand. We had to approach the task like engineers, therefore we were provided with the engineering process to assist us with this. With this information, our group has been tasked to build an earthquake-resistant building. This building has certain restrictions and requirements, including having a minimum height of 60cm. The maximum base is 30 x 30 cm. The peak of the spaghetti building must be a minimum of 5 x 5 cm. As well as this, the necessary materials have been restricted, with every group having been allocated $60 total. One spaghetti stick is $1, with 1g of blutack is $1.
Research
At the very start of the project, groups conducted research to discover certain ideas/strategies engineers used to produce earthquake resistant buildings. Our group made a summary of many key ideas used in the real world.
- Cross bracing
- An “X” cross in a rectangular frame structure used to withstand seismic activity


- Base isolation
- A design where certain features are used to separate the structure from the ground
- Used to reduce the amount of energy put upon the building from the earthquake
- Shear Walls
- A structure used in buildings to resist strong winds and seismic forces
- Involves connecting a series of beams and structures across the building.

Above is the engineering process we used for the project. This is what we would follow while we designed, constructed, and tested an earthquake-resistant building.
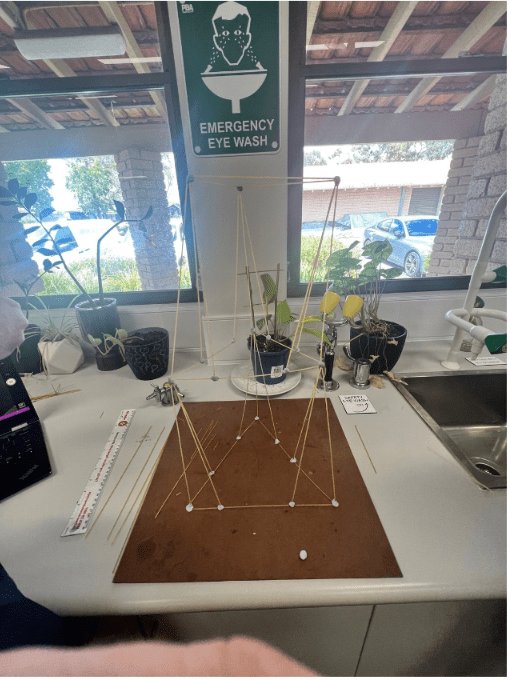

Our first building
Our first building shown in the photograph is slightly changed to include a triangle base as we found that a square base would not be as supportive. Also, the cross bracing (x shapes in diagram) was not the same length as they were in the diagram and therefore resulted in our cross bracing not having the same level of support for our structure as we intended.
We could not test this design as it failed to hold more than two levels to itself, and we would find it collapsed at the start of every lesson.
Our improved design

A video of us testing our building for surface waves – 20221121_061537000_iOS.MOV
After learning from our first design, we adapted and made an improved design, consisting of more triangles, doubled up reinforcements and supportive elements. We changed our design to adopt more triangles as the square and trapezoidal shapes in our original design did not work. Also, we reinforced the ‘middle’ part of our design as the pieces of pasta in the middle had support the weight of two layers on them. Furthermore, we used the small, snapped bits of pasta from our testing and construction to provide increased support for the pieces that we found to warp and bend during the testing of the surface waves on our building.A video of us testing our building with p waves – 20221121_055616000_iOS.MOV
As for the p waves, the building withstood the lateral waves from the ‘earthquake’.
Reflection
It is to my belief, that with sickness and other absences, our group worked well together as a whole. We collaborated together on a good level. Every group member collaborated equally in the leadup to our final product. Our group worked through all proposed designs with methodical thinking and an open mind. With this, we were able to create a final product that was able to withstand all wave tests. Overall, our group worked well together.