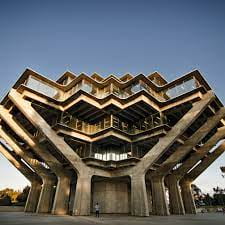
Brutalist art Brutalism came to symbolize urban decay and economic hardships that were out in the open for the world to see they were made by only raw concrete. Our task was to create something similar using concrete and Lego.
The process:
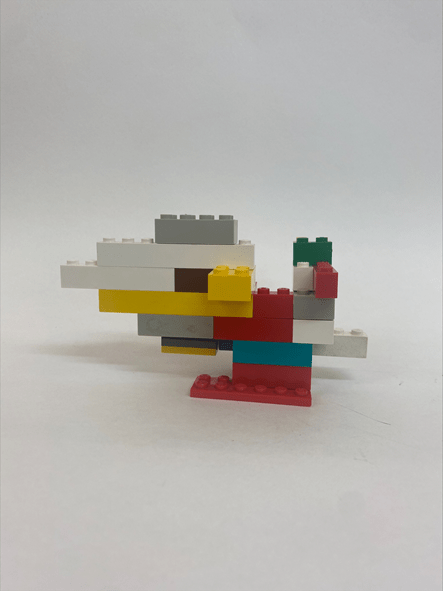
First, we had to search for brutalist images however I did miss this due to me being away. Next we made prototypes out of Lego to see what our final piece would look like. This took many trials as when Mrs Elscott tried the project there were many flaws with the Lego such as the concrete to crumble. This then added many rules to what our mould would look like. We had to limit the size of our mould and the number of over hangs. This resulted me to just create a very small simple design with no over hangs.

Then we had to make a box out of board and wood, this was one of the most difficult parts of the project because we had to hot glue the walls and floor with hot glue (which took a long time to dry) and we had to make sure no water leaked out of the box, this meant we had to add more and more hot glue to stop the water from leaking out. Then we poured the pinkysil into the box and waited until it was dry

With the pinkysil we poured half pink and half white pinkysil and mixed it fast so that the silicon does not set before putting into the walls. Once it was mixed, we poured it through the walls and then tapped the side of the walls to make all the air bubbles rise.
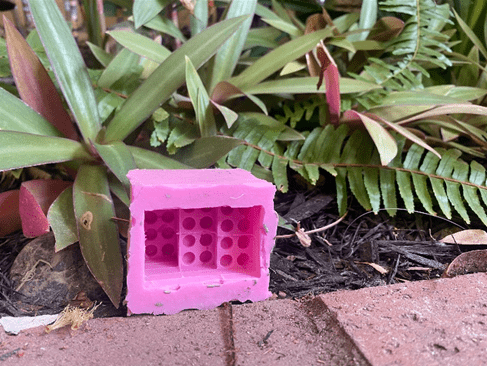
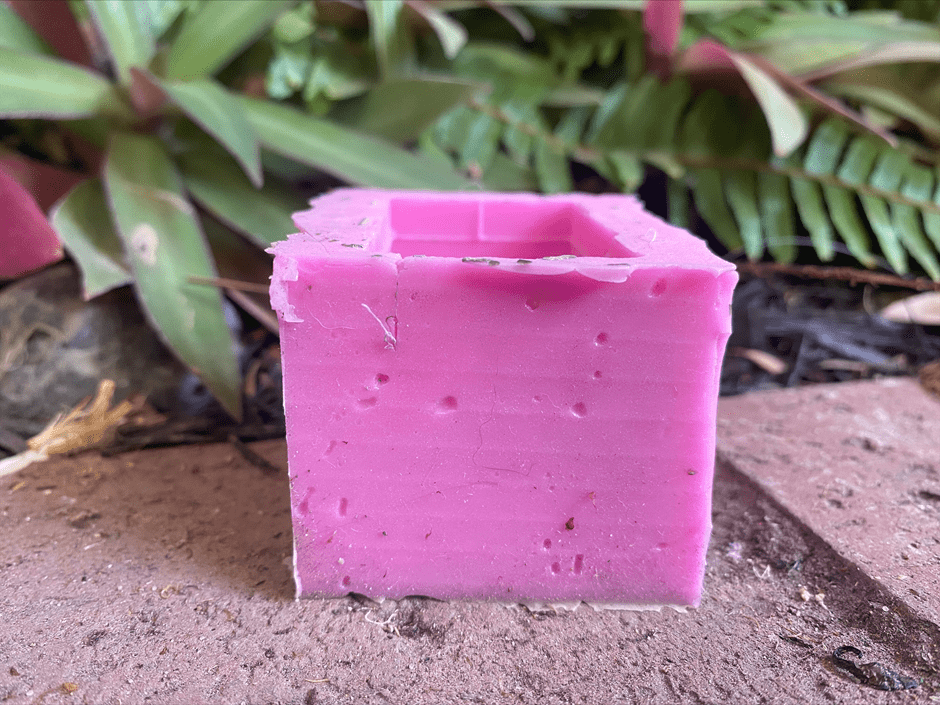
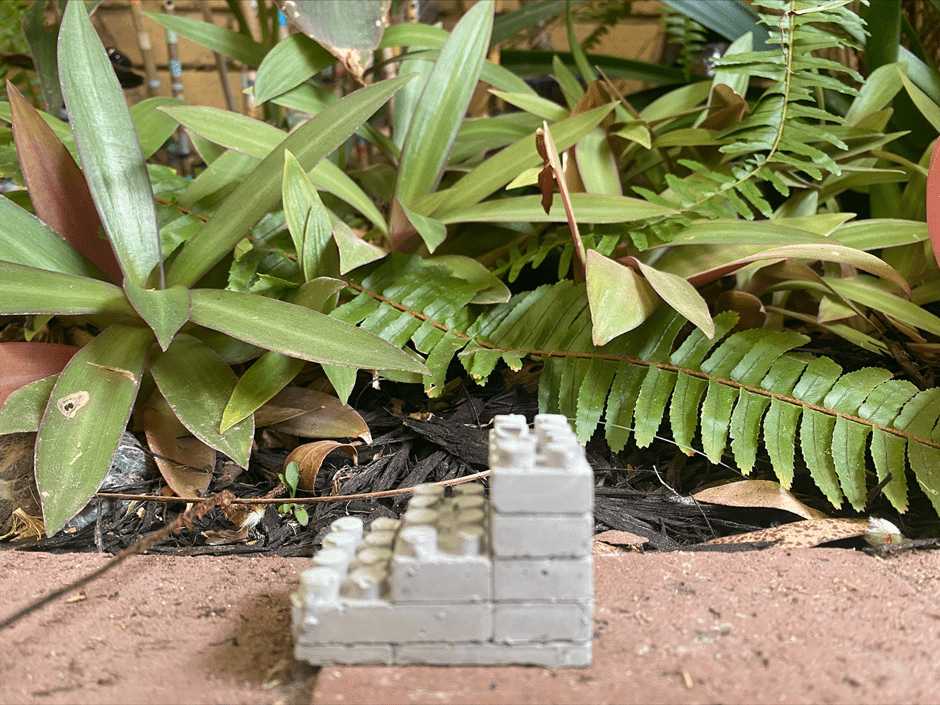
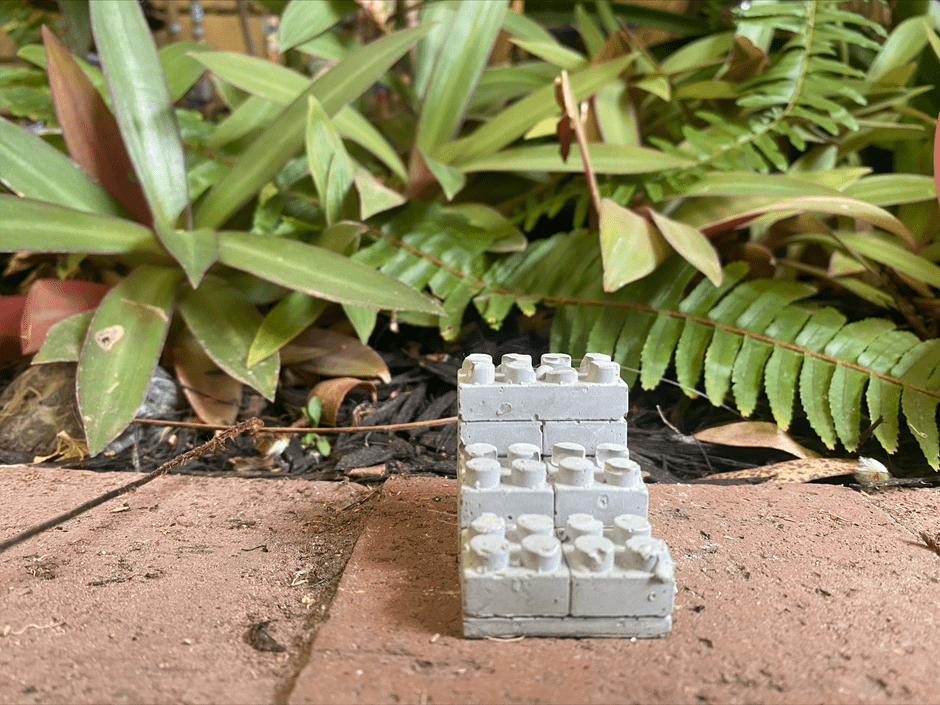
We had to wait for a lesson for the silicon to dry so once it did, we cut our walls open and were left with a mould. Then we took the Lego out of the mould and made sure our moulds were good to pour concrete into, again we had to tat the sides so that the air bubbles rise because I they don’t parts of the final design would be chipped. We had poured the concrete into the mould, we had to wait a long time for it to dry. Once it dried, we took it out of the mould and added it to the other sculptures in the class creating a brutal city.
What worked in this project was how I was able to change/ adapt my Lego build to fit the guidelines and have exactly what I wanted. I built several different Lego builds so I could see what style I liked and what I wanted to have my final product look like. In the end I had chosen the simplest design which was a mistake as my art did not look as complex.
What did not work for me in this project was my time management. I spent too long on some things and that really left me behind which made me rush my work and my overall design was not done to the best of my abilities.
Overall, I enjoyed the freedom we got to work on our project because we could do our own thing and work well without having to follow a structure. This project has many steps to complete but ultimately it was a fun project and I really enjoyed it and the final design was very cool.
Recent Comments