
When you leave the College, here are the instructions you need so you can take your ePortfolio with you.
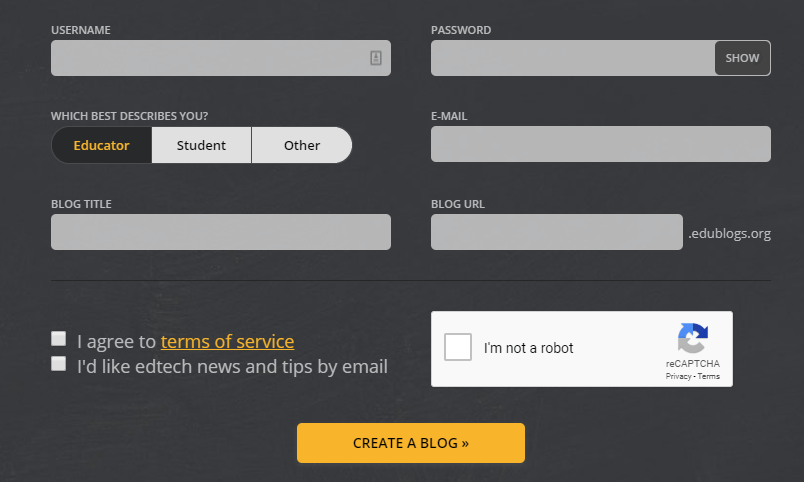
First, you will need to create a free WordPress account or EduBlogs account by going here and signing up for a new account using your personal email address:
https://edublogs.org/#join-network
Advanced WordPress Importer
The Advanced WordPress Importer in Tools > Import allows you to easily import all posts, pages, comments, custom fields, categories, and tags from your College portfolio.
Preparing your export file
To prepare your export file:
1. Log into your original College site dashboard.
2. Go to Comments and permanently delete any unnecessary comments such as spam comments.
High numbers of spam comments can make the export file too large and you shouldn’t import spam comments into a new site.
3. Go to Settings > Reading.

4. If the site is using a private site option, change privacy to “Discourage search engines from indexing this site”.
This is necessary on both the original site and the new site otherwise the import won’t work.

You can switch back to a private setting once the import is complete.
5. Go to Tools > Export.

6. Click on Download Export file and save the XML (WXR) file onto your computer.
Make sure you select All Content.

Upgrading your free Edublogs account to Pro
To upgrade your new Edublogs account created with your personal email, enter your details HERE – you will need the URL of your new Edublogs portfolio and your College ePortfolio URL.
When you get an email back from CampusPress you can proceed as follows:
Importing your export file
To import your file:
1. Log into your new site dashboard.
2. Go to Users > Add New and add all users who have added any content to the original site as a user to the new site. All content must be assigned to a user.
3. Go to Settings > Reading.

4. Change privacy to “Discourage search engines from indexing this site” if the site is using a private site option.
This is necessary on both the original site and the new site otherwise the import won’t work.

5. Activate any plugins that were being used in the original site if they are still needed.
- If the site you are importing from has Custom Post Types you must activate the same theme, or any necessary plugins, before importing otherwise your custom post types won’t import.
- Advanced Custom Field Pro plugin should be activated on the new site if it is used on the original site.
6. Go to Tools > Import.

7. Click on ‘Run Importer’ under Advanced WordPress.

- The Advanced WordPress importer uses our out of band importer to import your content in the background allowing you to continue working on your new site while the import is running. It’s designed to handle importing larger sites and is the recommended method for importing all WordPress sites.
- The WordPress importer option located at the bottom of the import list requires the browser tab to be left open while importing and is only suitable for importing small sites.
- If you get a Failed status with the Advanced WordPress importer try again with the WordPress Importer.
- Email contact@campuspress.com if you need assistance
8. Click Choose File to locate the Export file you saved on your computer.

9. Click on Upload File and Import after selecting your upload file.
10. Assign all posts to existing users.

It is important that you don’t select the option to create user accounts when importing. Assign all posts to the site admin user during the import process if you don’t want to create their user accounts.
11. How long the import takes depends on the size of the original site. We recommend checking about 1-4 hours later.
- You can continue working on the site to set up the theme and widgets while your content is importing.
- You check the import status in Tools > Import > Advanced Importer.
Here’s what the status looks like when the file is still being processed:
Changes from Pending – Runnable, to Pending – Started to Run.

Here’s what the status looks like when the file has been processed.

11. Once import status has changed to succeeded we recommend you compare Posts > All Posts, Pages > All Pages, Media > Library, and any custom post types on your new site and your original site to confirm all content has been imported.
This imports all pages, posts, comments, files. You need to manually set up your site theme and widgets.
