
Printmaking
Introduction
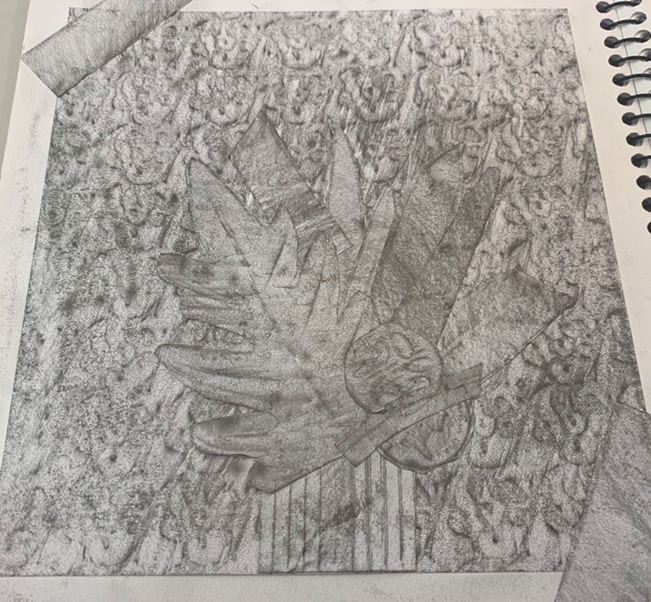
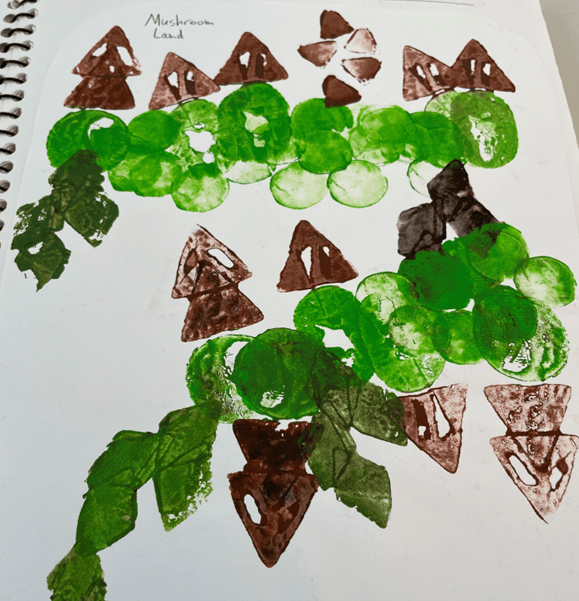
In printmaking art class, we covered various printing techniques including, potato prints, frottage, monoprints, etching and linocut prints. During the excursion, we got the chance to visit the “Wild About Babies” exhibition at the WA museum, which contained 20 sculptures of endangered animals. We got to work in the Exquisite Bodies Workshop by Bruno Booth and we got to visit the Fremantle Arts Centre for its 46th Print exhibition.
Overview of printing techniques

Favourite Printmaking Technique
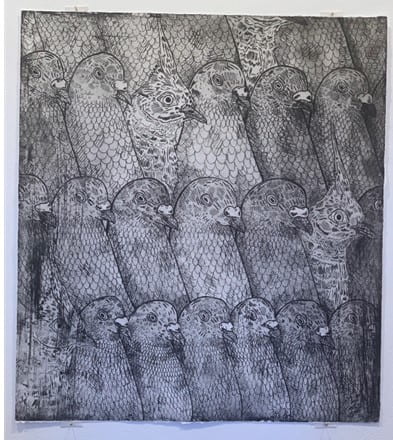
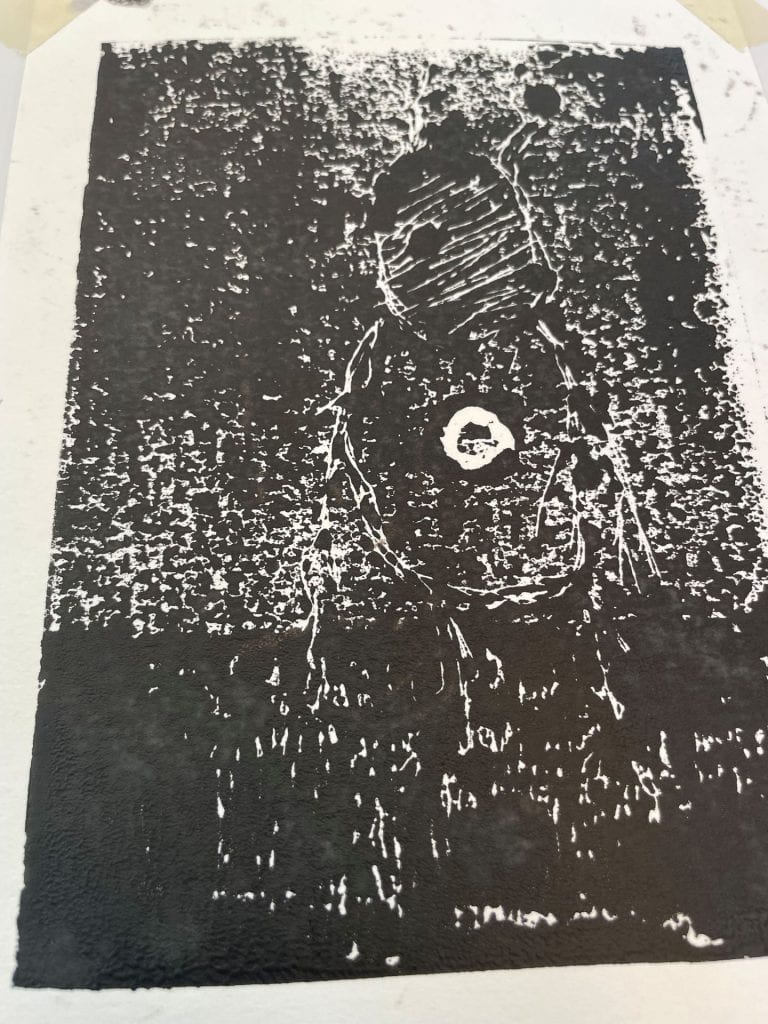
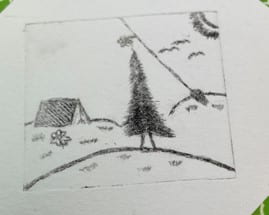
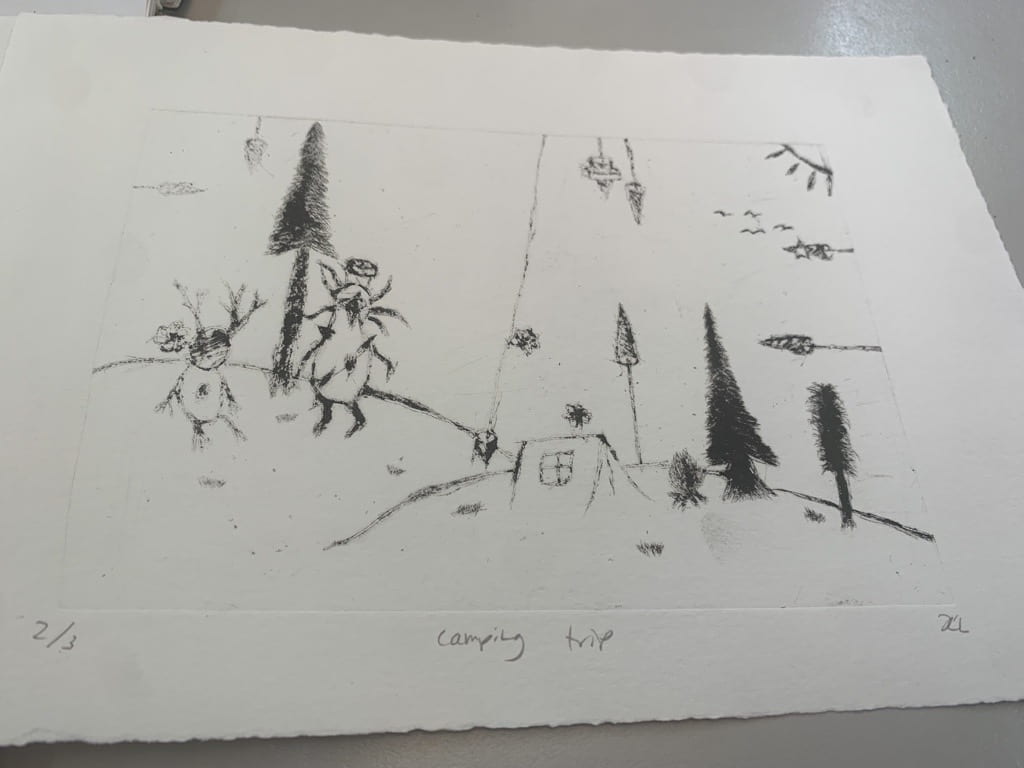
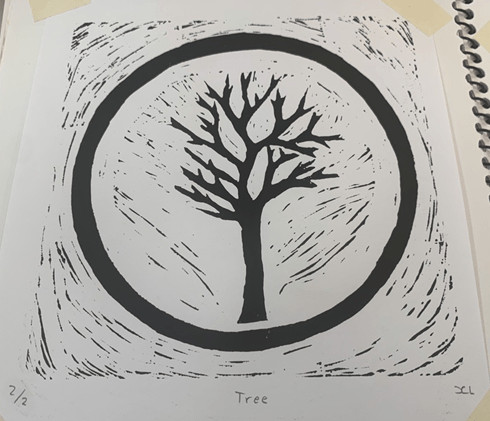
My favourite printmaking medium would be either etching or linocut. Both printmaking techniques were time-consuming processes, which gave amazing rewards once finished. I liked the process of etching, where you would etch into an acetate sheet (Or copper sheet) with a needle. During the etching process, your hand will hurt and become sore because you’ll need to scratch indents into the acetate sheet. Although a lot of pain was endured during the etching process, the final etching print was a success and I liked that.I found linocut to be one of my favourites as it also took time to plan and carve into the lino. I liked how linocut prints could only be black and white, which made me come up with a pretty cool design which I liked. Overall the final linocut print was a major success.
Challenges in Printmaking
One of my challenges in printmaking class was the linocut practice prints. The first practice prints I printed contained a lot of white spots where the black was meant to be. The main issue was that there wasn’t enough ink on the printing plate, however after printing a few more times, there were still white patches in some places even though the outcome was better. We theorised that the ink had something to do with it, I switched ink bottles, which gave me a few better prints, although still having some small seeable white patches. Etching was another challenging printmaking technique which we covered in art class. I found etching challenging as your hand becomes sore after etching on the acetate for some time. This made the etching process time taking.
Final Artwork – Lino Print
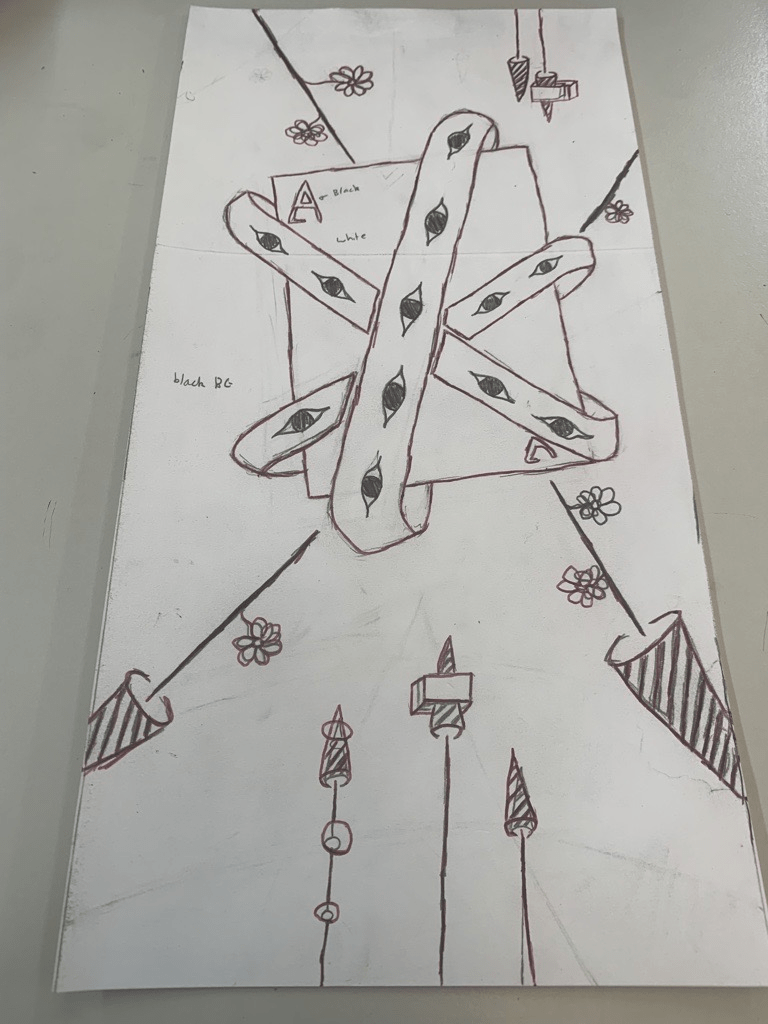
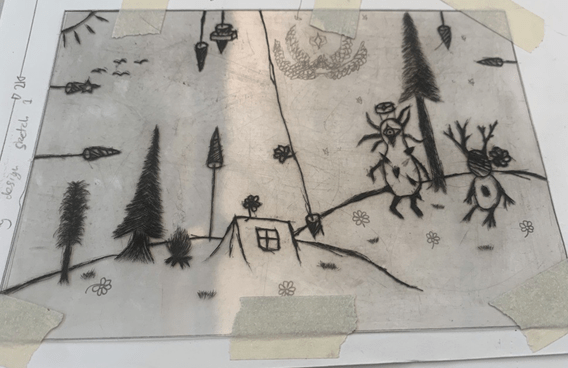
For art class, we were required to create our final linocut print. This print would be 15cm-30cm, which was supposed to be an original design. For this task, I first decided to create a design on paper, which I’d use carbon paper to transfer onto the lino. I based my design on a mix of references from the biblically accurate angles and my art style. Once this design was finished, I used carbon paper to transfer the image onto the lino, worked out what parts would be black and white, and started to carve. After the carving was finished, I printed the linocut with the printing press which created a unique print which I liked.

