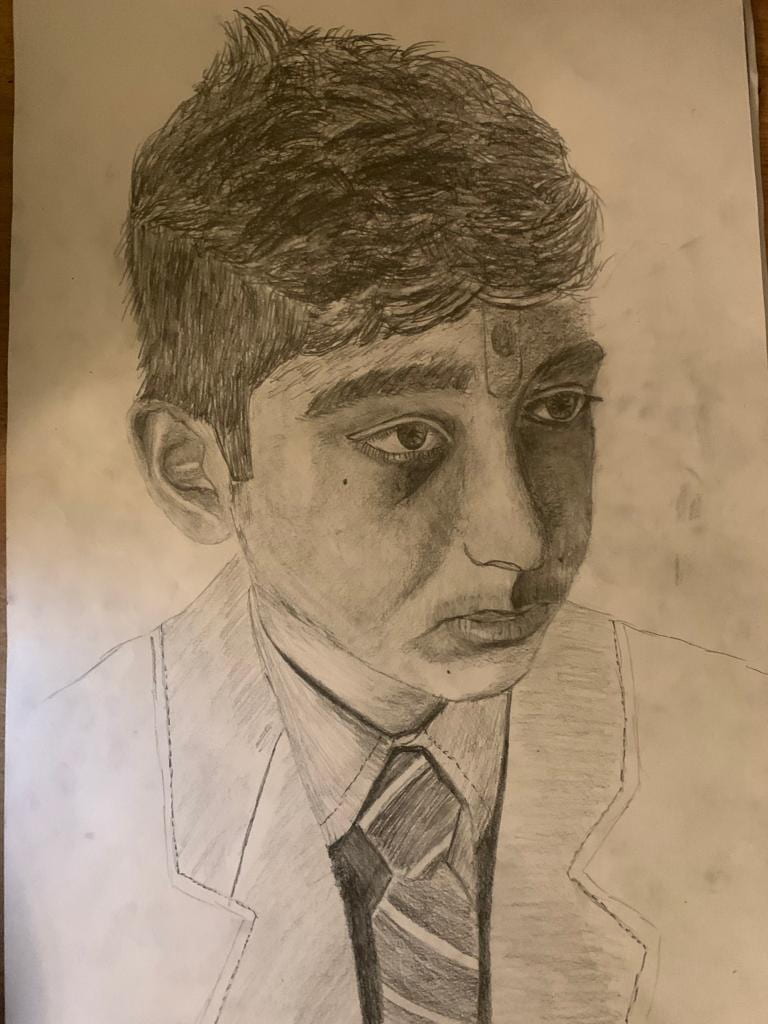
- Evaluate your skills in drawing your self-portrait.
I think I was good at shading and working slowly and layering. I think I struggled with transferring every exact mm of the reference photo onto the paper. I think I need to work on this as sometimes I would have some of the smallest differences, which would cause my face to look completely different.

- What has been the most helpful or interesting technique you have learned during Traditional Drawing?
In this elective I improved a lot in all parts of drawing, for example shading, perspective, tone and drawing different parts of the face. Before this elective I was not very good at shading, my shading was not smooth, and I did not use the right techniques in shading. However, after traditional drawing, my skills in shading increased dramatically. We can see how far I have come in terms of shading from my final portrait. I also developed a skill in perspective. Before I found it hard to draw places and landscapes and even something as simple as a bedroom. However, once I learned and understood the laws of perspective, I was able to draw rooms and other landscapes such as streets a lot better. I think traditional drawing not only dramatically increased my shading skills but also in my perspective and space skills. Another way I have improved dramatically in this elective is through learning how to draw each facial features. For example, your nose, eyes, mouth, ears, etc. Because of this, the portraits I draw have gotten so, so, so, so much better. I could never imagine my self-drawing this well.
Write about the process in detail, from taking the photo, to transferring your drawing to the board to finishing your drawing. What choices did you make?
- First, I needed to take the photo.
When taking your photo, you need to think about a number of things such as light, contrast, angle, etc. Before in my first photo, my photo did not have a lot of contrast in tone, this meant my drawing would not have been at a very high standard. However, when I took my second photo the tone and contrast and angle were perfect for me to draw.
2. The second thing you need to do is trace.
When tracing your reference photo, you must first shade on the back of your photo, flip the photo around and trace on top of your drawing on all of your main facial features.
3. Next step is to actually shade and transfer the photo onto the paper. You must copy everything from the photo including the shade and the angle. Some of the smallest differences can cause your face to look completely different.
4. Than after you add all of your shades and tones, you can go over some of the light parts with the electric eraser.


